How to Decorate & Share Christmas Cookies Like the Pro You've Always Wanted to Be
Is there anything more delightful than enjoying a homemade cookie? There’s just something magical about them that even the best bakeries cannot replicate. While the flavor is really what everyone ultimately savors about these tasty sweet treats, the presentation goes a long way toward transforming the humble cookie into something extraordinary.
Want to sleigh your cookie exchange game this season (or just really impress your family and friends)? Read on to learn how you can make, decorate and share your cookies like a pro (and then put those skills to good use to host the ultimate Christmas cookie exchange)!
Upgrade Your Baking Supplies & Tools
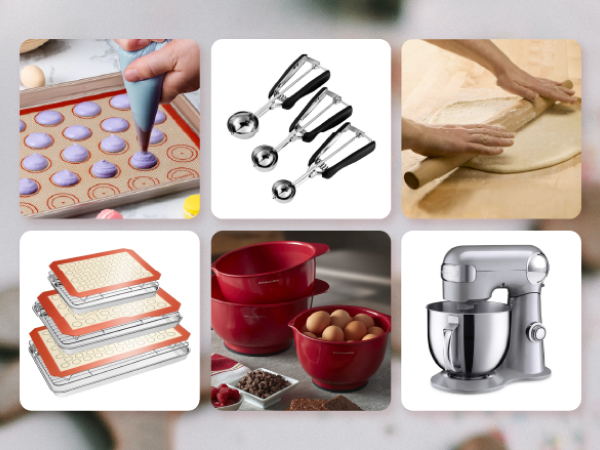
Sure, an egg beater works fine as a makeshift stand mixer, and a tablespoon can stir ingredients together. But really, there comes a day when it’s time to assess what’s in your kitchen and make some upgrades. You’ll thank us (and yourself) in the long run when you realize how much easier and more enjoyable baking is when you have the right tools for the job. Here are the tools every cookie baker needs:
Piping Tips and Bags
Enthusiastic beginner: 42-Piece Decorating Kit
Oh, you’re serious: 387-Piece Cake & Cookie Decorating Kit
Silicone Baking Mat
Simple and affordable: Amazon Basics Silicone Mat (Pack of 2)
Next level: Silicone Baking Mat (Set of 6)
Baking Sheet
All-in-one design: Baking Sheet Tray, Cooling Rack & Silicone Mat Set
Nonstick, but make it ceramic: GreenLife Half Cookie Sheet
Cooling Rack
Space saver: Wilton 3-Tier Folding Cooling Rack
Food Dye
Gel is the way to go: Wilton 12-Count Gel-Based Food Color Assortment
Cookie Scoop
For perfectly uniform cookies: Cookie Scoops - Set of 3
Electric Stand Mixer
On a budget: 3.2 qt. Small Electric Food Mixer
Next level: 5.5 qt. Cuisinart Stand Mixer
THE mixer: 5 qt. KitchenAid Artisan Series Stand Mixer
Oven Thermometer
Simple and affordable: Rubbermaid Oven Thermometer
Measuring Cups (Dry)
Classic in plastic: KitchenAid Measuring Cups
Magnetic for easy organizing: Stainless Steel Measuring Cups
Collapsible for small spaces: Silicone Measure Cups & Spoons Set
Measuring Cups (Liquid)
Forever favorites: Pyrex 2-Piece Glass Measuring Cup Set
Modern measuring: OXO Good Grips Angled Measuring Cup
Measuring Spoons
Classic in plastic: KitchenAid Measuring Spoons
Magnetic for easy organizing: Stainless Steel Measuring Spoons
What Inspector Gadget would use: KitchenArt Adjustable Measuring Spoon
Digital Food Scale
Compact: Ozeri Digital Multifunction Scale
Next level: 22 lb Digital Kitchen Scale
Hand Mixer
Easy and electric: Hamilton Beach 6-Speed Electric Hand Mixer
Easy and manual: OXO Good Grips Egg Beater
Spatulas
Perfect for every color scheme: Silicone Spatula - Set of 5
Whisks
Classic stainless steel: Amazon Basics Wire Whisks - Set of 3
Heat-resistant silicone: Non-Scratch Coated Whisks - Set of 3
Perfect for smaller spaces: Collapsible Silicone Whisk
Mixing Bowls
Classic in plastic: KitchenAid Mixing Bowls - Set of 3
Forever favorites: Pyrex 8-Piece Glass Mixing Bowls with Lids
Baking Sifter
Effortless sifting: Bellemain Stainless Steel Sifter
Rolling Pin
When precision is key: Stainless Steel and Silicone Baking Mat Set
Keep it classic: French Rolling Pin
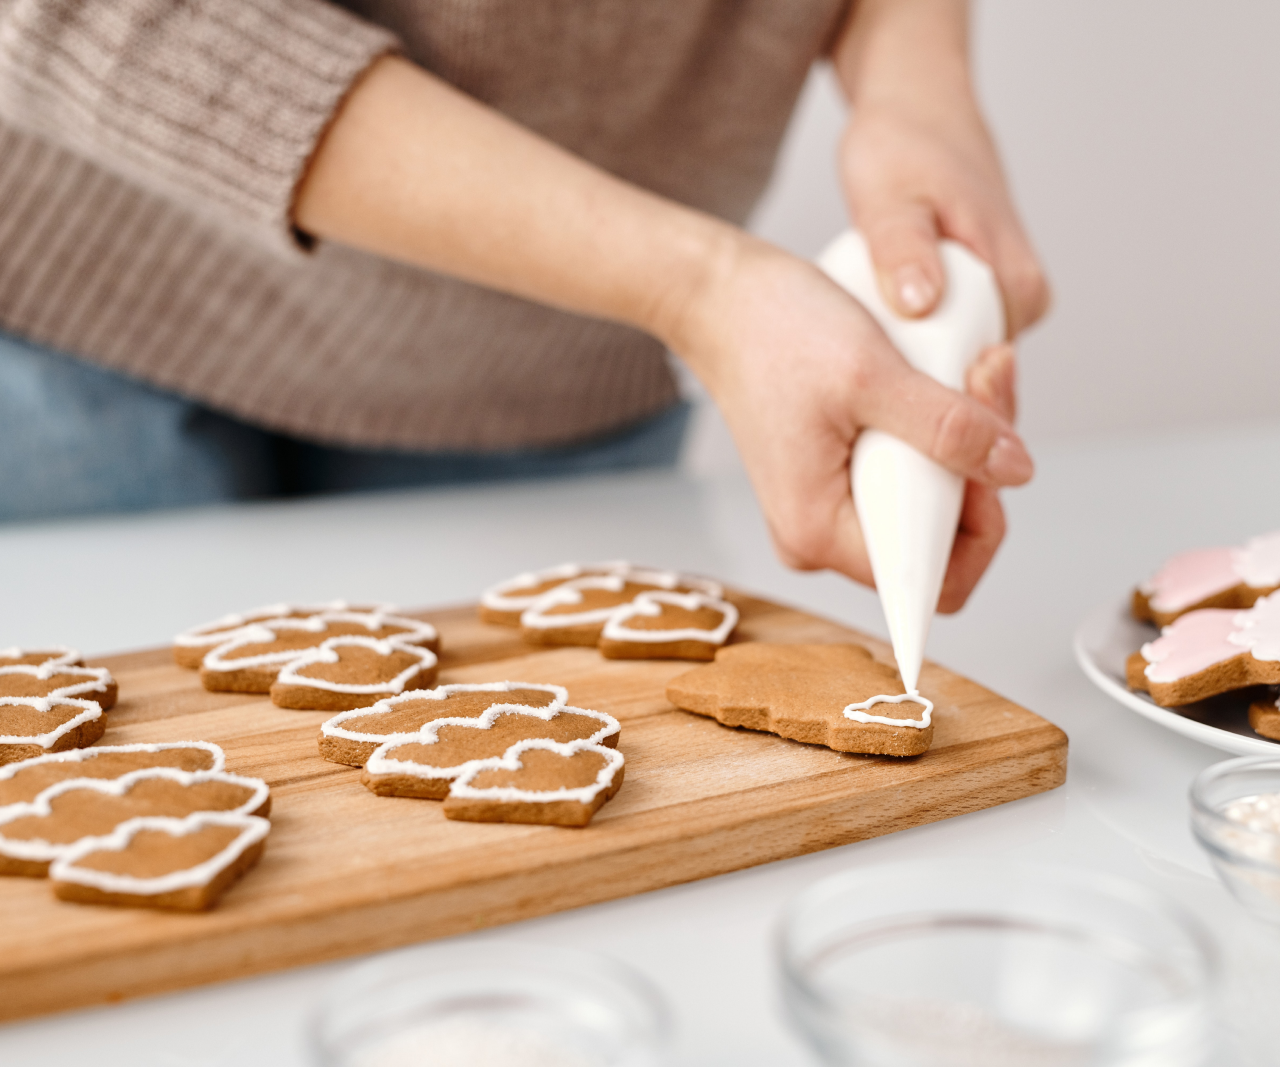
Use the Correct Type of Icing (and Let Your Cookies Cool Before Decorating Them!)

It’s no surprise that sugar cookies and gingerbread cookies are at the top of the list of America’s favorite Christmas cookies. Both cookies can be decorated using that creamy frosting in a can or a tube of icing, but if you want your cookies to have a professional look, royal icing is the way to go. It’s easy to decorate with (especially if your decorating goals include outlining and flooding your cookies), easy to make (all you need is confectioners’ sugar, meringue powder and water) and when it dries, it has a beautiful sheen that looks and tastes delicious.
Long story short—royal icing is indeed the reigning champion here. And yes, let your cookies cool completely before decorating them. Don’t be that person on the baking show that everyone yells at for icing a hot cookie.
What You Need to Make Your Own Royal Icing
Pre-made mix: Judee's Royal Icing Mix
DIY ingredients: 365 by Whole Foods Market Organic Powdered Sugar, Judee’s Complete Meringue Powder Mix
To make your own royal icing, simply mix 4 cups of powdered/confectioners' sugar, 3 tablespoons of meringue powder and 9–10 tablespoons of water together. Icing should drizzle and smooth out when you lift your whisk up. Add more sugar if too thin or more water if too thick. That's it!
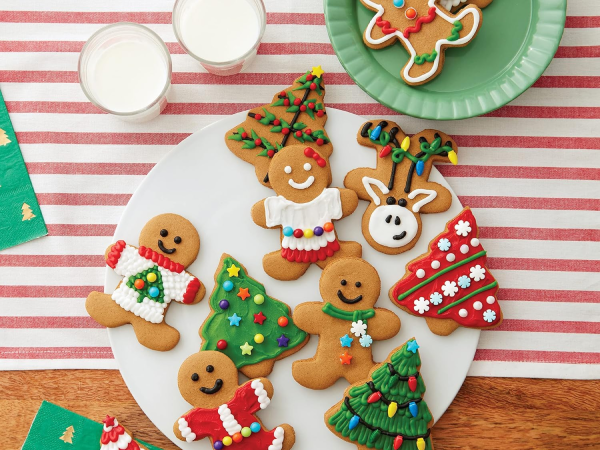
Keep the Add-Ons Simple, but Make Them a *Little* Extra
Everyone loves sprinkles and cute shapes, and while we love a Christmas tree-shaped cookie with red and green sprinkles, consider trying something new and fresh this year.
Fun Sprinkles
Santa Claus & Gingerbread Man Sprinkles
Pink & Green Retro Christmas Sprinkles
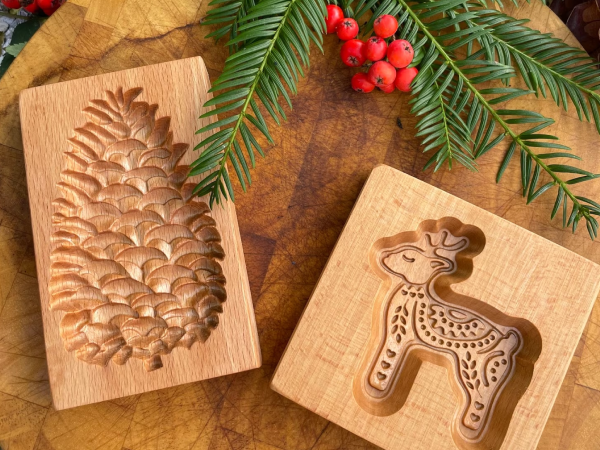
Cool Cookie Cutters
Christmas Dinosaur Cookie Cutter Set
Custom Pet Portrait Cookie Cutter
Christmas Sweater Cookie Cutter
Opt for Easy but Yummy with a Cookie Kit
Want to be a smart cookie and speed up the process? Use a pre-packaged cookie kit! Your cookies can still proudly boast of being hand-decorated, but instead of spending time trying to find all the bits and pieces you need, you can buy them all in one neat bundle.
Our Fave Cookie Kits
Display Your Amazing Cookies Like a Boutique Bakery
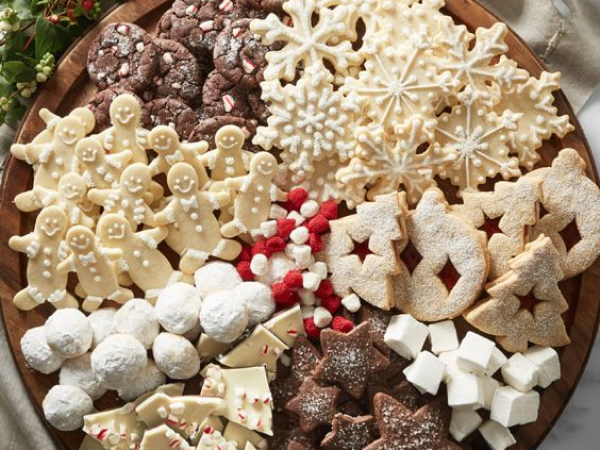
After all of the hard work you put into crafting your cookie masterpieces, don’t just toss them in a boring container. Show them off like they deserve!
Cookie Display Ideas for the Table
Le Creuset Enamel on Steel Noel Collection Cookie Jar
3-Tier White and Gold Serving Stand
Euro Ceramica Red and White Winterfest Platter
Red and White Striped Ceramic Christmas Pedestal Stand
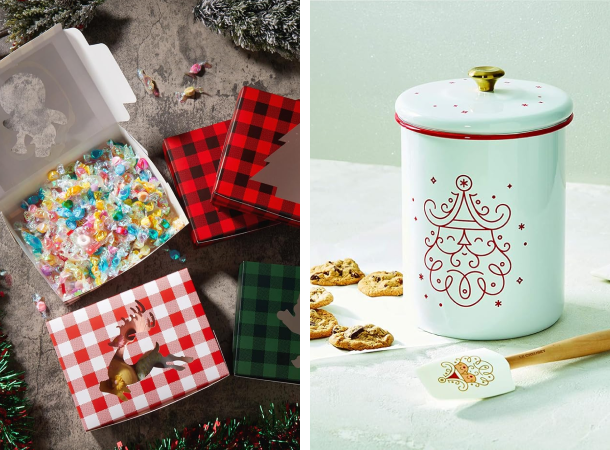
Cookie Display Ideas for Giving
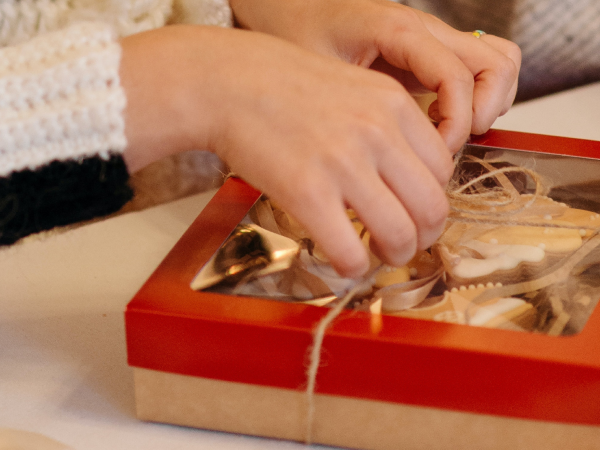
Buffalo Plaid Christmas Window Gift Boxes
Christmas Cookie Tin Gift Boxes
Red Buffalo Plaid Window Gift Boxes
Christmas Mailbox Tin Gift Boxes
Kraft Paper Christmas Window Gift Boxes
Ship Your Cookies with Care
What’s the best way to ship cookies without breakage or loss of freshness so loved ones can enjoy your delicious treats even from afar?
- Choose a cookie that ships well. Cookies decorated with yumminess like buttercream frosting won’t hold us as well in the post, so save those for your in-person cookie exchanges. Cookies decorated with royal icing or a chocolate drizzle will likely be fine so long as the decoration is completely set and the weather isn’t too hot.
- Make sure your cookies are completely cool.
- Wrap your cookies in pairs with plastic wrap. Place the flat undersides of the cookies against each other and use a small piece of plastic wrap to hold them together. This helps keep them fresher and therefore, more tasty even after days in transit.
- Take a container like a cookie tin or plastic food storage box and line it with a few layers of tissue paper (not only does it look more gifty, but it’ll help protect the edges of your cookies) and place your wrapped cookies in it. Add more pieces of tissue as needed so there isn’t much room for your cookies to shift in transit.
- Put the lid of your container on, then place it in a shipping box. Use more tissue paper or packing supplies to cushion the box and prevent shifting.
- Head to the post office and send your cookies on their merry way!
Now that you're ready to whip up some sweet treats, check out our complete guide to hosting the ultimate Christmas cookie exchange.
All of the products we feature are hand-selected by our editors! You see only what we love and what we think you'll love too. If you buy something through links on our site, Evite may earn a commission. Prices are subject to change.